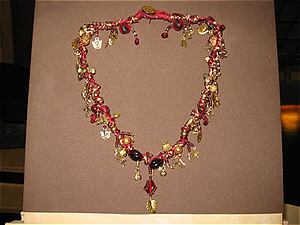
Marilyn Johnson brings a bit of bohemia to beading. She shares her
technique for using different kinds of cords, beads and charms to create a
necklace that looks straight out of a treasure box! Materials: |
|
||||||||||
|
1. Assemble all
stringing material (see below) into one unit; each piece of thread and cord
and string should be even with each other (except waxed linen and pearl
cotton, which will be longer than the rest). Fold in half so that you can see
the center. String pendant or focal bead, making sure that the loop of
pendant or hole in bead is large enough for all stringing material to fit
through. If using a pendant, tie an overhand knot over the loop. To tie this
knot, simply make a loop near the end of the cord. Bring the end around the
cord and through the loop. Pull tight (figure A). |
Fig A |
||||||||||
|
2. If using a bead,
tie an overhand knot along each side of the bead (figure B). |
Fig B |
||||||||||
|
3. To create fringe,
simply take a piece of the waxed linen or pearl cotton, thread it through a
dental floss threader and string on five to eight
seed beads (depending upon length of fringe desired), and a charm (figure
C). Bring threader back through the last seed
bead, working the threader up through all previous
beads and tie onto the cords. 4. For the main
necklace, thread on another bead which will lie "flat"; tie another
overhand knot on the side of this bead (use whichever strands of thread that
will fit through the hole of this bead). Continue/repeat the process to add
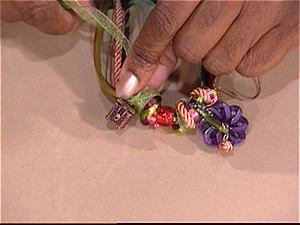
fringe and beads, knotting after each is added. 5. To end one side,
twist all pieces of stringing material together except for pearl cotton and
waxed linen. Wind the pearl cotton and waxed linen (waxed linen is
"waxy" enough to aid in securing stringing materials) around the
twisted materials until all has been covered; form a loop and use the waxed
linen to wrap around the base of the loop. Weave (using the threader or needle already pre-threaded) the waxed linen
in and out of the covering tie a knot and wrap and weave in and out again;
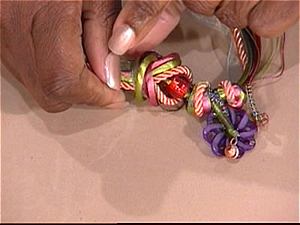
tie a knot and glue. 6. On the other side
add a decorative button and position it where you want. Tie a knot on either
side of the button and start the twisting and wrapping process; twist only
far enough to make sure there is room to form a small loop to fit under
button forming its base. Glue the ends of the knots for the both the button
and the loop ends. Cut left over stringing material after glue has dried. RESOURCES: GUESTS: Marilyn
Johnson
|
|
||||||||||

 Fig
C
Fig
C