|
From "Jewelry Making" |
|
||||||||||
|
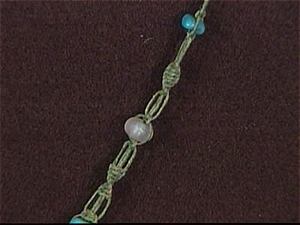
Macrame artist Cathi Milligan
brings back the craft of macramé in a big way. Macrame
has long been thought of as a blast from the past -- a craft relinquished to
1970s potholders and plant hangers. But today, Milligan combines the
technique with beading to create necklaces with exotic appeal. Materials: Donut bead
(for center piece of necklace) |
|
||||||||||
|
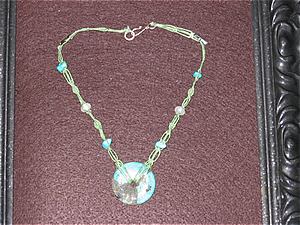
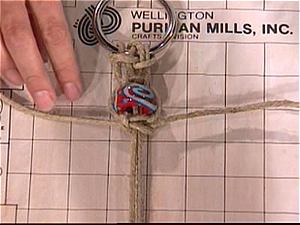
1. Choose a
centerpiece that can accommodate a couple of strands of waxed linen cord. |
Fig A |
||||||||||
|
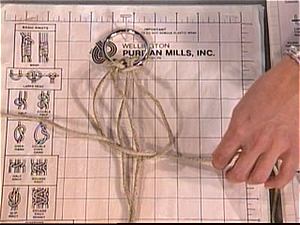
2. Lark's head knot:
First, fold a strand in half. Take the loop end and thread it through the
opening in your centerpiece (donut). Pass the other end through the loop and
tighten (figure A) to produce two strands of cord for each original
piece, a total of eight). You’ll now have eight loose cords off your
centerpiece. You’ll want four strands to work with on each side. |
Fig B |
||||||||||
|
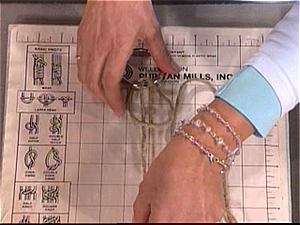
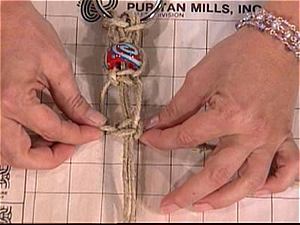
3. Tie one side (of
four strands) up in a bobbin while working on the first side so they don't
get in the way. It’s easier to complete one side at a time while working on a
choker project. You’ll also want to anchor the centerpiece down to the
macramé board with a t-pin. |
Fig C |
||||||||||
|
4. Square knot:
Separate your four cords so they lie flat. The two center cords are the
holding cords and the outside two are the knotting cords. Tape down the
center two and begin your first knot with the outside two. The first knot
sequence will be a square knot, which consists of two half-knots, one to the
left and one to the right. The knots are made looping the cord through the
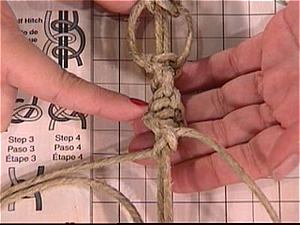
holding cords (figure B). Make sure that the second knot is tight. 5. To add a bead (figure
C), remove the tape that's anchoring down the holding cords and thread an
accent bead on. Repeat another square knot to secure the bead as in the
previous step. 6. Leave a bit of
space in the cord (figure D) before starting the next knotting
sequence, which will be half-knot twists. They are made by continuing the
half-knot in the same direction. |
Fig D |
||||||||||
|
7. Make a half-knot,
left to right. And another left to right. This creates a twist (figure E).
At least six knots are needed to get the twist to form. 8. Leave space before
the next sequence, then repeat the sequence. Start
with square knots, create a square knot with an
accent bead, then half-knot twists. Once you have reached your desired length
repeat the entire process on the other side of the centerpiece. 9. Once the choker is
complete, tie each set of cords onto the jump ring and hook clasp using an
overhand knot. Make sure it's tied as tight as possible. 10. Apply a dab of glue
on the knot with a toothpick. Once the glue is dry, trim cords close to the
knot. RESOURCES: |
|
||||||||||
|
|
|
||||||||||